LinkedIn is a powerful professional networking platform widely used by individuals and businesses alike. With over 740 million members worldwide (source: LinkedIn), it serves as a valuable resource for connecting with professionals, exploring job opportunities, and expanding professional networks.
When it comes to searching for specific individuals or target groups on LinkedIn, the ability to export search results can be a game-changer.
In this guide, we will explore the step-by-step process of exporting LinkedIn search results, empowering you to efficiently manage and analyze your search findings.
step-by-step process of How To Export LinkedIn Search Results
Step 1: Log in to your LinkedIn account

To begin exporting LinkedIn search results, you need to log in to your LinkedIn account. Follow these simple steps:
1. Open LinkedIn website:
Launch your preferred web browser and navigate to the LinkedIn website(www.linkedin.com)
2. Enter login credentials:
Locate the login section on the LinkedIn homepage. Provide your registered email address or phone number associated with your account, followed by your password.
3. Access your account:
Click on the “Sign In” button or hit Enter to log in to your LinkedIn account. Upon successful authentication, you will gain access to your LinkedIn profile and features.
Logging in is a crucial first step that allows you to proceed with exporting search results on LinkedIn.
Step 2: Perform a search
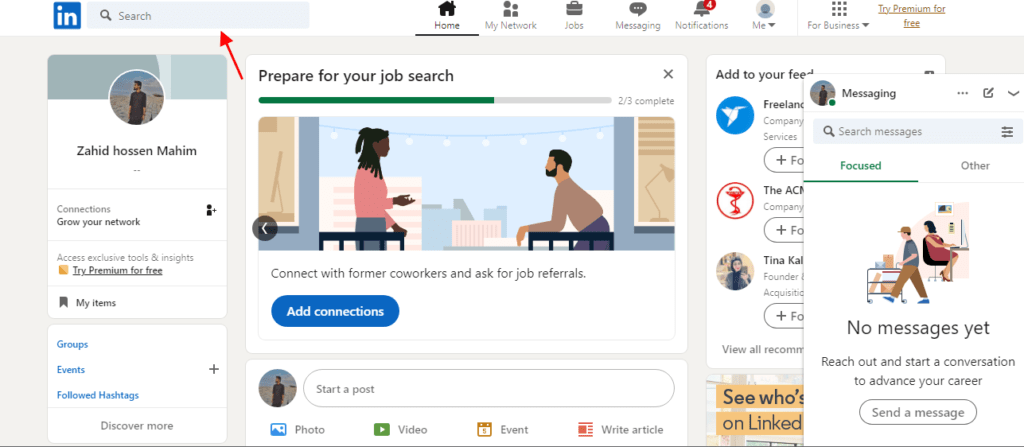
Performing a search on LinkedIn allows you to find relevant profiles based on your desired criteria. Here’s how to do it:
1. Access the LinkedIn search bar:
Locate the search bar at the top of the LinkedIn page after logging into your account.
2. Enter search criteria:
Enter specific search criteria such as job title, company, location, or keywords related to the profiles you are seeking. Be as specific as possible to refine your search results.
3. Initiate the search:
Press “Enter” on your keyboard or click the magnifying glass icon next to the search bar to initiate the search.
Performing a search on LinkedIn is the initial step to finding relevant profiles that align with your specified criteria. It helps you narrow down your search and focus on the profiles that are most relevant to your needs.
Step 3: Refine your search (optional)
Refining your LinkedIn search allows you to narrow down the results and find more specific profiles that meet your criteria. LinkedIn offers various filters that can assist you in this process.
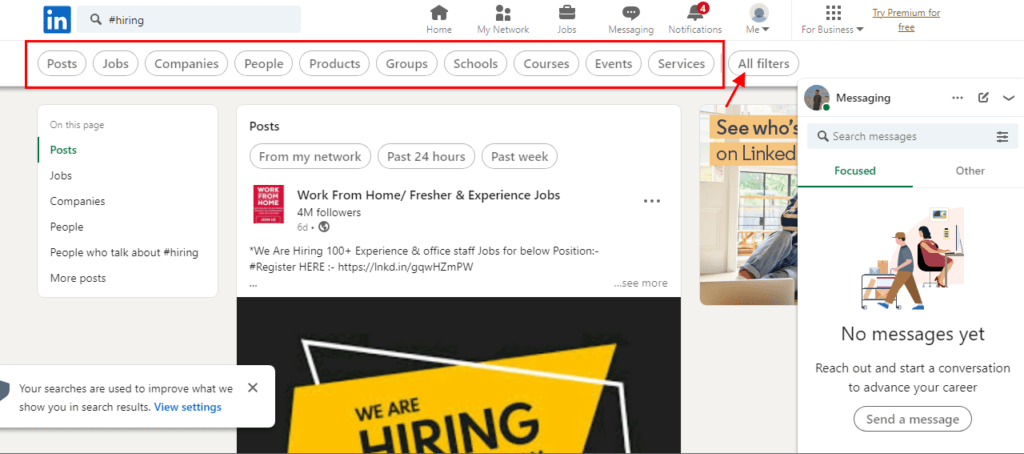
Here’s how to utilize these filters effectively:
1. Access the search results page:
Perform your initial search by entering the desired criteria in the LinkedIn search bar. Once the results appear, navigate to the search results page.
2. Locate the filters:
On the left-hand side of the search results page, you will find a series of filters. These filters enable you to refine your search based on specific criteria.
3. Choose desired filters:
Review the available filters and select the ones that align with your requirements. LinkedIn offers filters such as connections, location, industry, company, job title, and more. Pick the filters that will help narrow down the search results to the most relevant profiles.
4. Apply the selected filters:
Click on the checkboxes or dropdown menus associated with each filter to apply your selections. LinkedIn will automatically update the search results based on the applied filters.
5. Review the refined search results:
Once you have applied the desired filters, examine the updated search results. You will now see profiles that match the refined criteria you have set.
By utilizing the filtering options provided by LinkedIn, you can fine-tune your search and obtain more targeted results. This can save you time and help you find the specific profiles or target audience you are seeking.
Step 4: Scroll through the search results
When searching on LinkedIn, it’s important to browse through the search results to identify profiles that align with your criteria.
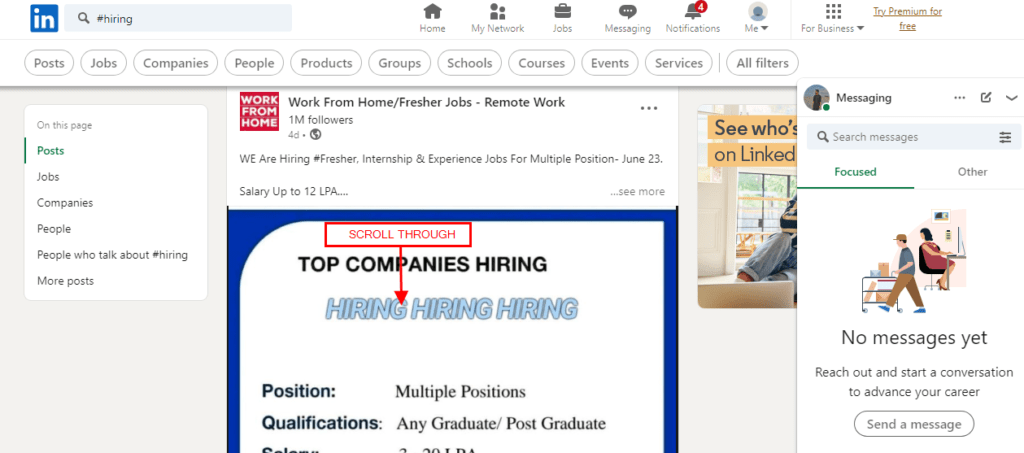
This step helps you identify individuals or companies that you want to export from the search results page. Here’s a brief discussion on how to proceed:
1. Review the search results:
Carefully examine the profiles that appear in the search results. Skim through their names, headlines, and brief descriptions to quickly assess if they match your search intent.
2. Evaluate profile relevance:
Consider the relevance of each profile to your search objective. Look for key details such as job titles, company affiliations, locations, and shared connections. Note profiles that align closely with your desired criteria.
3. Take note of selected profiles:
As you come across profiles that meet your requirements, make a note of their names, companies, or any other identifying information. This will help you remember which profiles you want to include in the export process.
By thoroughly scrolling through the search results, evaluating profile relevance, and taking note of selected profiles, you can ensure that you capture the most suitable individuals or companies to export from the LinkedIn search results.
Step 5: Install the LinkedIn Sales Navigator Lite extension (optional)

To enhance your LinkedIn experience and access additional features for exporting search results, you may choose to install the LinkedIn Sales Navigator Lite extension. Here’s a brief overview:
1. Installation process:
To install the LinkedIn Sales Navigator Lite extension, follow these steps:
- Open your preferred web browser and visit the extension’s respective store (e.g., Chrome Web Store for Google Chrome).
- Search for “LinkedIn Sales Navigator Lite” in the store’s search bar.
- Click on the extension from the search results to access its details.
- Click the “Add to [Browser Name]” or “Install” button to initiate the installation process.
- Follow the prompts and grant any necessary permissions to complete the installation.
2. Accessing additional features:
Once installed, the LinkedIn Sales Navigator Lite extension should appear as an icon in your browser’s toolbar. Clicking on this icon will provide you with additional options and functionalities for managing and exporting LinkedIn search results. Utilize these features to streamline your search process and optimize your search result exports.
The LinkedIn Sales Navigator Lite extension is an optional addition that can enhance your LinkedIn experience and provide extra features for exporting search results. Consider installing it if you frequently utilize LinkedIn for professional purposes, such as sales or recruitment.
Step 6: Select profiles for export
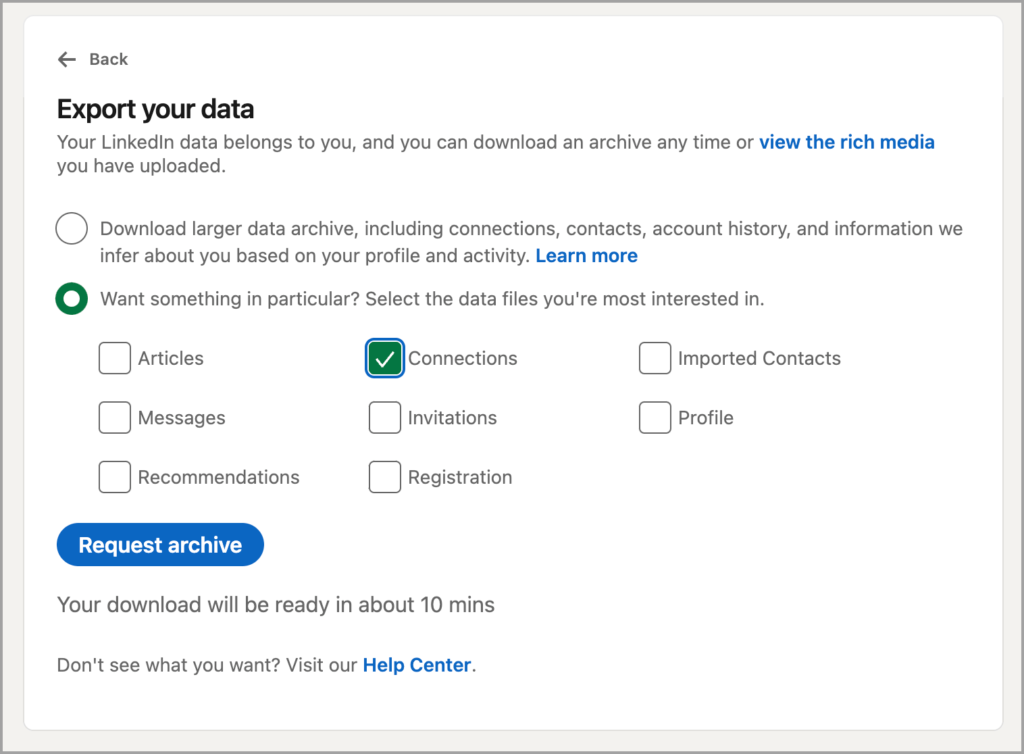
To export specific profiles from your LinkedIn search results, follow these simple steps:
1. Hover over the desired profile:
On the search results page, locate the profile you want to export. Hover your mouse cursor over the profile to reveal additional options.
2. Look for the checkmark icon:
As you hover over the profile, a small checkmark icon should appear on the top right corner of the profile picture. This icon signifies the ability to select the profile for export.
3. Click on the checkmark:
Click on the checkmark icon to select the profile for export. The selected profile will be highlighted or marked in some way to indicate its selection.
4. Repeat for additional profiles:
Repeat the process for each profile you want to include in your export. Hover over the next profile, click on the checkmark icon, and continue selecting profiles until you have chosen all the desired ones.
By following these steps, you can easily select multiple profiles from your LinkedIn search results for exporting purposes. This allows you to compile a targeted list of profiles that meet your specific criteria and save them for further analysis or reference.
Step 7: Click “Save to PDF” or “Save to CSV”
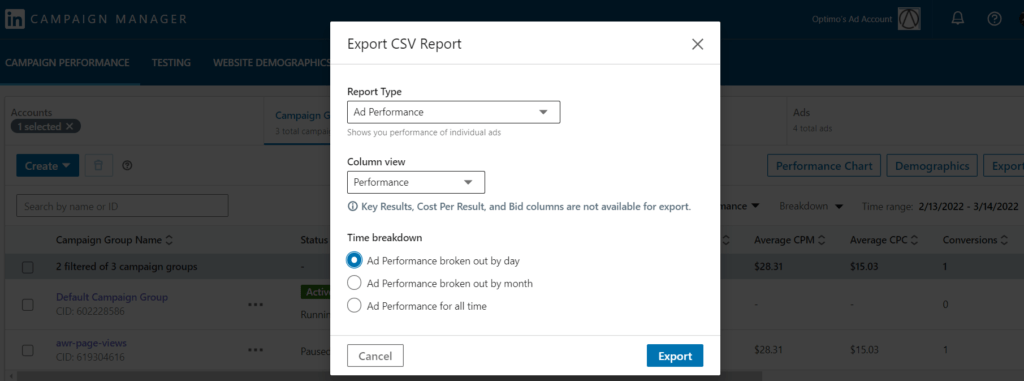
Once you have selected the desired profiles from the search results, follow these steps to save the information:
1. Locate the export option:
Look for the “Save to PDF” or “Save to CSV” button. It is typically located either at the top or bottom of the search results page on LinkedIn.
2. Choose your preferred format:
Click on the button corresponding to your preferred format. If you want to save the search results as a PDF file, select the “Save to PDF” option. If you prefer a CSV file, choose the “Save to CSV” option. The format selection depends on your specific needs and how you plan to use the exported data.
By clicking the appropriate button, you initiate the export process and LinkedIn will generate the file in the chosen format, containing the selected profiles from your search results.
Remember to save the exported file to a location on your computer that you can easily access. This will enable you to review, analyze, or share the LinkedIn search results efficiently.
Step 8: Customize export settings (optional)

If prompted, you have the option to customize the export settings when exporting LinkedIn search results. This allows you to select specific information that you want to include in the exported file. Here’s how to proceed:
1. Access the export settings:
Look for the option to customize export settings, which is usually available before confirming the export process. It may be presented as a separate screen or a series of checkboxes or dropdown menus.
2. Choose desired information:
Select the specific details you want to export from the available options. This can include contact details (such as email or phone number), work experience, education, skills, connections, or any other relevant information provided by the LinkedIn profiles.
3. Adjust settings as per preferences:
Make adjustments to the export settings based on your preferences. For example, you may want to include or exclude certain categories of information, prioritize specific details, or customize the format in which the information is exported (e.g., columns in a CSV file or sections in a PDF).
Customizing the export settings allows you to tailor the exported LinkedIn search results to your specific needs. It ensures that you obtain the most relevant and useful information from the profiles you are exporting.
Step 9: Confirm and save the export file

After customizing the export settings, it’s important to confirm and save the exported file in the desired format. Here’s a brief discussion of this step:
1. Click the “Save” or “Export” button:
Once you have finalized the settings for the export, locate the “Save” or “Export” button on the LinkedIn interface. Clicking this button will initiate the export process and generate the file containing the LinkedIn search results.
2. Choose a location and provide a suitable file name:
A dialog box will appear, allowing you to choose the location on your computer where you want to save the exported file. Browse to the desired folder or directory and select it. Additionally, provide a suitable file name for the exported file to ensure easy identification and future reference.
Saving the export file is a crucial step as it ensures that your LinkedIn search results are preserved in a format that can be accessed and reviewed later on.
In conclusion, exporting LinkedIn search results enables users to efficiently manage and analyze the data they gather during their searches. By following the step-by-step process outlined above, users can customize their search criteria, select profiles of interest, and save the results in the desired format.
This capability allows for easy access, organization, and further utilization of the exported information. Whether for networking, lead generation, or market research purposes, mastering the art of exporting LinkedIn search results empowers professionals to make informed decisions and maximize the potential of their LinkedIn experience.

